Sponsors

 photo 8e821ffd-bdb3-44b0-8df1-888119dd6850.jpg
Showing posts with label mini twists. Show all posts
1 comment

Preserving The Style

As the frizzies come, there is really no way to avoid it completely. Here are a few tips to help minimize the appearance of frizzies, and help to keep the style looking fresh & new.
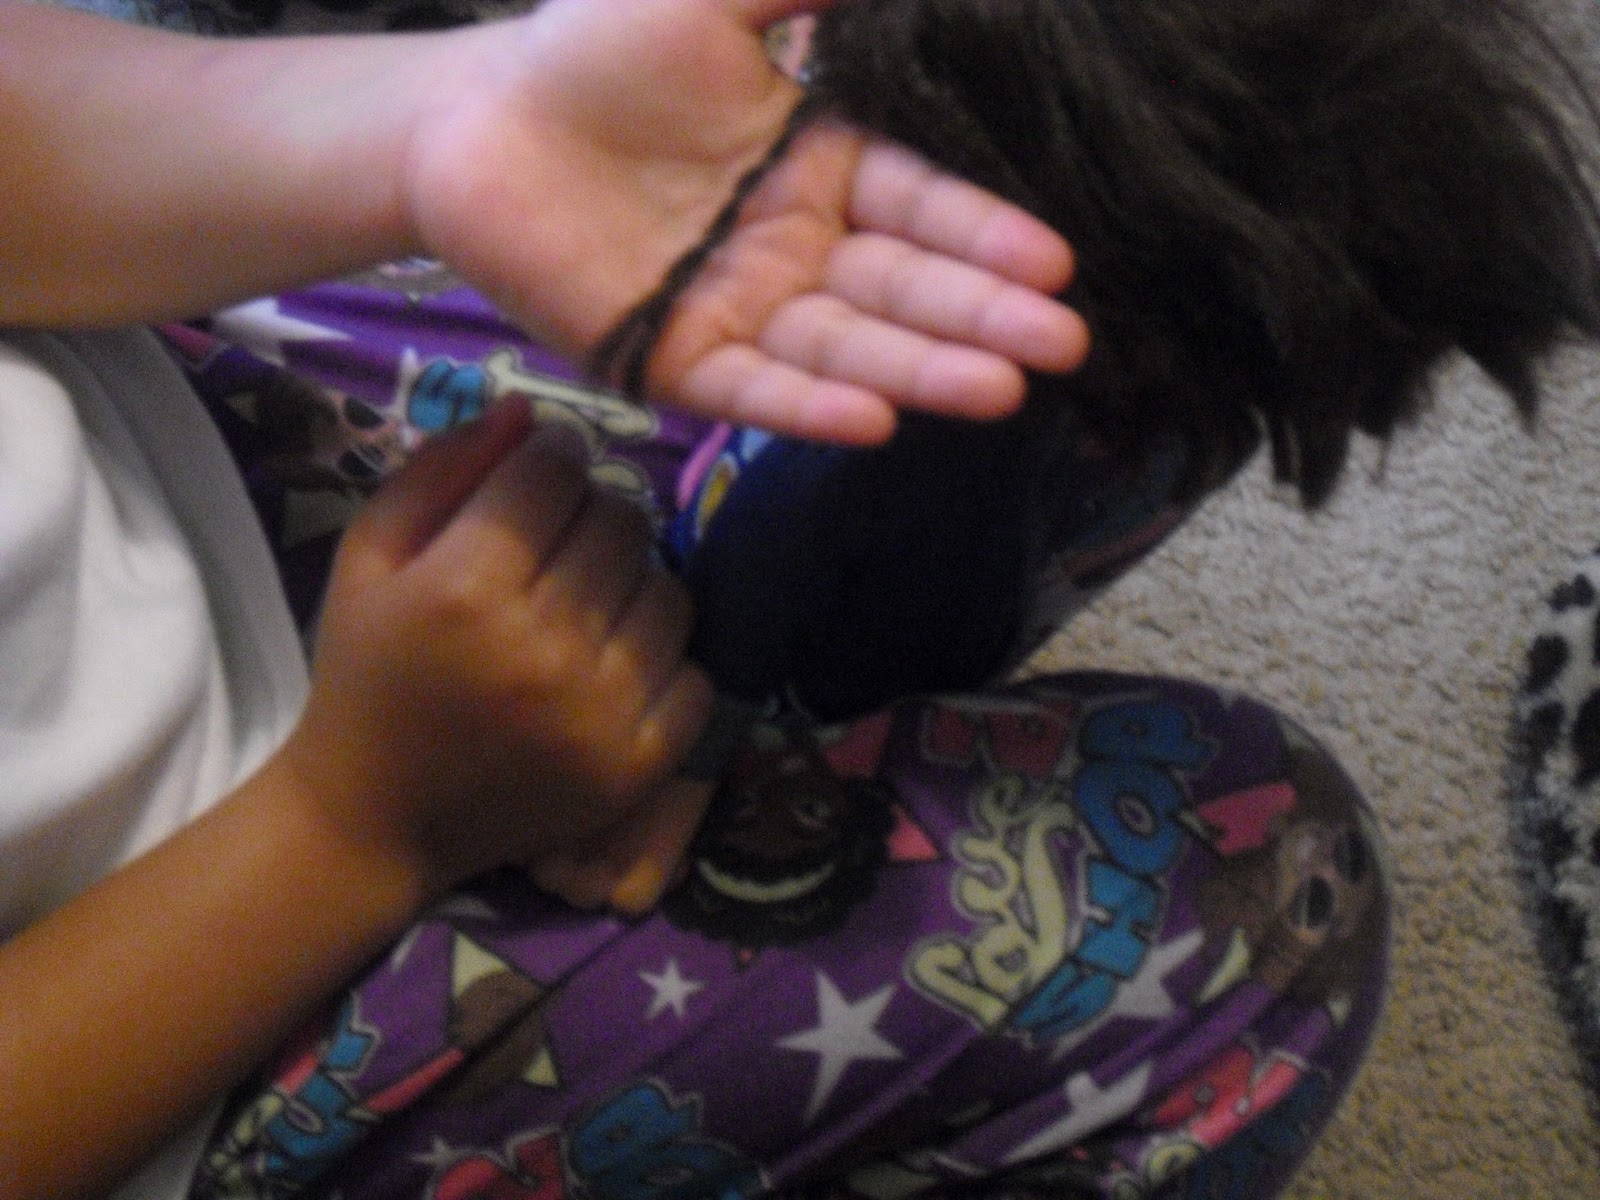
-Styling- 


This is so simple, but does a really good job at hiding away the frizzies. I created a quick side ponytail. But styling the twists with a ponytail, pigtails, buns, french braid, or even cornrow it. All of these styles can be created on the twists, help to hide the frizz, and it's cool to switch up the style.


 -Slick It Down-

For N's edges/baby hair I used a small amount of Eco Styler Gel  and smoothed it down with a soft brush. It kind of reminds me of these 90's styles hahaha. But hey! It helps keep her braids looking fresher.


-Pineapple-


Looks kind of like a big pineapple sitting on top of her hair. As silly as it may look, this method helps to preserve the twists. You simply put the hair into a high loose bun. Then you are all set to go to sleep, when you awake, remove and shake. 

 - Cover it-


Another great way to hide frizz is to place a bandanna over the hair overnight. Make sure it is on snug to help lay the hair down. I leave it on overnight, but if you do not have the time leave it on for a few hours. This will help lay the frizzy hair down. I usually have the bandanna underneath her satin cap. 
Finally, if she is playing around the house or rolling on the ground. I will have her wear her scarf around the house, so this helps to protect the style.

- What are some ways you help to keep protective styles fresh?   
4 comments

Mini Twists

It's back.......

It's officially Summertime, and we are starting it off with one of our favorite protective style.....Mini Twists!


After N went swimming, I washed and conditioned her hair. Placed her hair in 5 braids and she went to bed. In the morning, once her hair was dry, I unraveled her braids and banded her hair. 


I started creating two strand twists in the back of her hair. I used Eco Styler Gel mixed with Bee Mine Curly Butter for hold. I applied this mix to each section before I twist. Once I reach the ends of the twist, I curled the ends of her hair with my finger, to stop it from unraveling along with adding more of our mix.


It took us over 6 hours to complete, which is the longest EVER! I never made the twists this small, so they should last awhile.

-For a tutorial on how to create mini twists, check out this video-


How is your little one rocking their hair this summer? 
No comment yet

N's Mini Twist: Week 2

We just finished week 2 of her mini twists, and I'm glad they are gone lol. Her hair was extra frizzy this week, especially in the front. I usually mix Bee Mine Curly Butter (I ran out) with Eco Styler Gel for the perfect hold, but I had to use just the gel this time. -sad face- It took me 2 hours to remove the twists, and I had to wet them with my spray bottle to help the twists unravel. 


(click on photo to enlarge) 
2 comments

Mini Twists Length Check


We are now on week 2 of the mini twists. They are holding up very well. Each night I add moisturizer and seal her hair. Her twists love to curl for some strange reason. So I either band her hair at night, or I pineapple her hair. She wears her scarf for bathing (so it won't get wet) and sleeping. I will probably take them down this weekend.

While creating her twists, I decided to do a length check. I couldn't find our tape measure, so we used body parts to determine her growth. Surprisingly her hair now reaches her "bottom." If you remember on New Years we set a length goal for the year. Our goal was to reach "bottom length" and we are there! I thought it would take all year. Now we have to set a new goal, I think I would like for her hair to be more fuller on the "bottom" and our second goal (this is a dream) but waist length. I plan on measuring again by the end of the summer, so we shall see.....

Take a look at her "bottom/butt length" 


Had to use a bow to hold it down, hard to take a pic and hold the hair at the same time lol.
I also have to share that Little Miss N, has offically learned how to do a two strand twist. She grabbed her Dora doll and created several twists. I had to take a picture, I'm so proud!  


She even finished the final twist in her hair!


1 comment

Mini Twists

Yup you got it, we are back to mini twists, our new favorite protective style. All this month we will be participating in BeadsBraidsBeyond Protective Style Challenge, I must say it came at the perfect time! I plan on keeping N's hair in protective styles throughout the summer. Last time I did mini twists, well they weren't as small as this time.

(Click on the photo to enlarge)

On Sunday, I washed, deep conditioned, blowdried (on cool) and banded her hair into 5 sections. I began creating small mini twists within each section. We started her hair around 1:00 ish, and finished at 8:30. Longest ever! I usually wash and prep the hair the night before styling. But I did everything in one shot. I plan to keep these in for 3 weeks. 


Products Used: 
Shea Moisture Shampoo
Blended Beauty Herbal Reconditioner
Giovanni Direct Leave In
Shea Butter Mix
Eco Styler Gel
(maintenance throughout the week) 
Cara B Naturally Leave In
Blended Beauty Hair Oil
2 comments

Protective Style Challenge: Mini Twists (Week 5-7)

With only a week left, we are almost finished with the Protective Style Challenge. I, along with a few other Mama's, have openly admitted that we are starting to REALLY enjoy not styling our kids hair daily. We somewhat became "Lazy" lol. But we do maintain the hairstyle by adding moisture and oil. 

I decided to do mini twists again, so that I won't have to style her hair for a few weeks. We really enjoyed the first time we did the twists, and I think we will continue doing this style throughout the year. The mini twists last a lot longer than cornbraids and regular braids. The twists seem to hide the frizz alot better than braids. 


I pre-pooed, washed, conditioned, air dried and stretched, her hair a day before styling. While styling the twists, I used Bee Mine Curly Butter mixed with Eco Styler Gel for hold. I moisturized daily with Cara B Naturally Leave In, and Blended Beauty Oil.

How is your Little One rocking their hair this week? 
4 comments

Protective Style Challenge: (week 3)

We took down N's first mini twists. I must admit I'm glad we tried that style. It lasted a lot longer than box  braids. It could of lasted longer, but the frizzies were driving me insane. I have to work on a better method to maintain them. For the take down process, I started in the middle of her hair, and un-twisted them. 


This is the perfect area to start taking down a style like this. If you need to go out, you can quickly cover the middle section with the hair from the front, sides, and back, and put it into a bun. 
As show below.


The take down wasn't bad, and she didn't have many knots, it was pretty easy to unravel the knots. I added a little oil to my fingers, to help glide my fingers down the twists. All together it took around a hour and a half to get all the twists down. Next we washed her hair, deep conditioned it, moisturized, and sealed. I left her hair in 6 braids overnight to air dry. The following afternoon I stretched her hair by banding it. (Which means sectioning the hair and adding hairbands down the entire section.)  This helped to make her hair semi-straight, for our next protective style.

Products Used:
Darcy Botanical Coconut &Hibiscus Oil (seal)
Blended Beauty Herbal Reconditioner (for D.C)
Suave Naturals Almond & Shea Butter (shampoo)
Cara B Naturally Leave In (for moisturizer)
15 comments

Protective Style Challenge: Mini Twists (weeks 1-3)


For our Protective Style Challenge we decided to do ....mini twists!
Yes, mini twists! If you ask some of my facebook friends, they will tell you how much
I dreaded doing this style. It's a beautiful style, but I did not want to sit for hours, and hours, and I didn't even want to think about the take down process. Well, I caved in, and surprisingly it wasn't too bad after all!

 (fyi: the last photo is from week 2)
Here are some close up pictures.


This style took 3-4 hours we only had a few breaks. I started her hair in the back, I didn't part it, just sectioned it with my fingers. I washed her hair 2 days before styling and banded it. I used Eco Styler Gel mixed with Bee Mine Curly Butter for hold. For some reason I really like mixing the two products. The Eco Styler alone sometimes leaves a white flaky residue but has a really good hold.

But on the down side, the two products combined makes N's hair wet, and then once the twists dries it creates this kinda-cute-weird-crinkly-thingy <--ignore all of that...But it did create this curly look. Overall N said "Mommy, this is my favorite hairstyle!" Yes, her favorite, so you guessed it, we will be seeing more of this style lol.

Here is a tutorial video on how to do Mini Twists, I pretty much followed her directions.


Have you ever tried mini twists? If so, how was your experience? 

Click On The Buttons To Follow Me!

Photobucket Photobucket Photobucket Photobucket Photobucket
Related Posts Plugin for WordPress, Blogger...
If you like what you see, and would like to donate, any amount would be greatly appreciated